



Plymouth & the Twin Cities
Roof Installation Built Around the Whole Roof
A roof installation brings several components together. Our Plymouth-based team helps you review the roof covering, supporting layers, edges, and ventilation as one installation scope for your Twin Cities home.
Local since 2011 · Licensed & insured · MN Lic. #BC794203
Start with the condition of your home
What is included beyond the shingles?
Before choosing a finish, understand how the installation will handle the deck, water-shedding layers, penetrations, and roof edge. Ask for those details in writing so the finished appearance and the concealed work are part of the same plan.
- A suitable deck and a defined plan for any necessary repairs
- Underlayment, flashing, and roof-edge connections
- The chosen covering, ventilation details, and accessory products
A homeowner’s experience
“Very pleased with their service. Worked with Ben who was great and very responsive. It made the whole experience so easy. Definitely recommend them for any roof installation.”
Installation planning starts with your roof layout
Pitch changes, valleys, dormers, chimneys, and lower roof sections create different installation details. A product suited to the main roof may require a different treatment at another part of the house. We review the proposed system and the transitions that belong in your scope.
For a replacement, removal exposes the deck for evaluation. For another installation situation, we first clarify the supporting structure and work already in place. Tell us about planned additions, skylights, or other trades so responsibilities and connections can be discussed before materials arrive.
Review workmanship and handoff details
The product instructions matter as much as the product name. Ask how the installer will handle the specified fastening, flashing, and ventilation details for your selected system. Brand experience alone does not describe what is included on your roof.
At completion, review the installed materials, any changes approved during the work, cleanup, and applicable warranty registration. Keep the proposal and product information together for future maintenance or a later repair.
Materials & installation details
Compare the roof assembly layer by layer
The exact assembly follows the roof design and manufacturer requirements. Use these three groups to understand the proposal rather than selecting shingles in isolation.
Deck and protective layers
Review the deck condition and the specified underlayment or protective membrane. Confirm where the proposed materials will be used and how concealed conditions are handled.
Roof covering and accessories
Discuss architectural or designer shingles and specialty systems such as Brava composite roofing. Compare the exact covering with its starter, ridge, and other required accessories.
Explore material examples →Edges, flashing, and ventilation
Consider roof-to-wall connections, penetrations, eaves, and the proposed ventilation arrangement. These details should be coordinated with the selected roof system.
Read the manufacturer’s component guide →CertainTeed ShingleMaster PREMIER since 2019 · Review requirements for the exact roof system and applicable warranty.
Your project, step by step
A planned installation sequence
-
Confirm the assembly
Review the roof layout, intended material, existing conditions, and any coordination with windows, siding, or other work.
-
Prepare the site and deck
Arrange access and protection, complete any agreed removal, and document the condition of the supporting deck before covering it.
-
Install the specified system
Sequence the protective layers, flashing, roof covering, and accessories around the manufacturer’s requirements and the roof’s individual details.
-
Walk through the result
Review the completed roof, cleanup, scope changes, and product paperwork with you, including the applicable maintenance and warranty information.
Decisions to settle before installation day
- Which roof areas and transitions are included?
- Who handles any necessary deck or supporting repairs?
- Which exact products and accessory components are specified?
- How are deliveries, access, and weather changes coordinated?
- What documentation and written warranty terms will you receive?
Our Work
Installed roofing in Minnesota communities
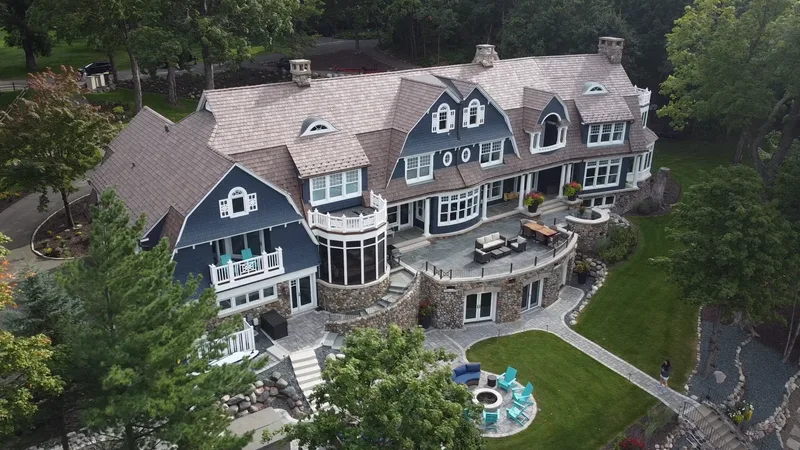
White Bear Lake, MN · Residential
Roof restoration on a White Bear Lake home
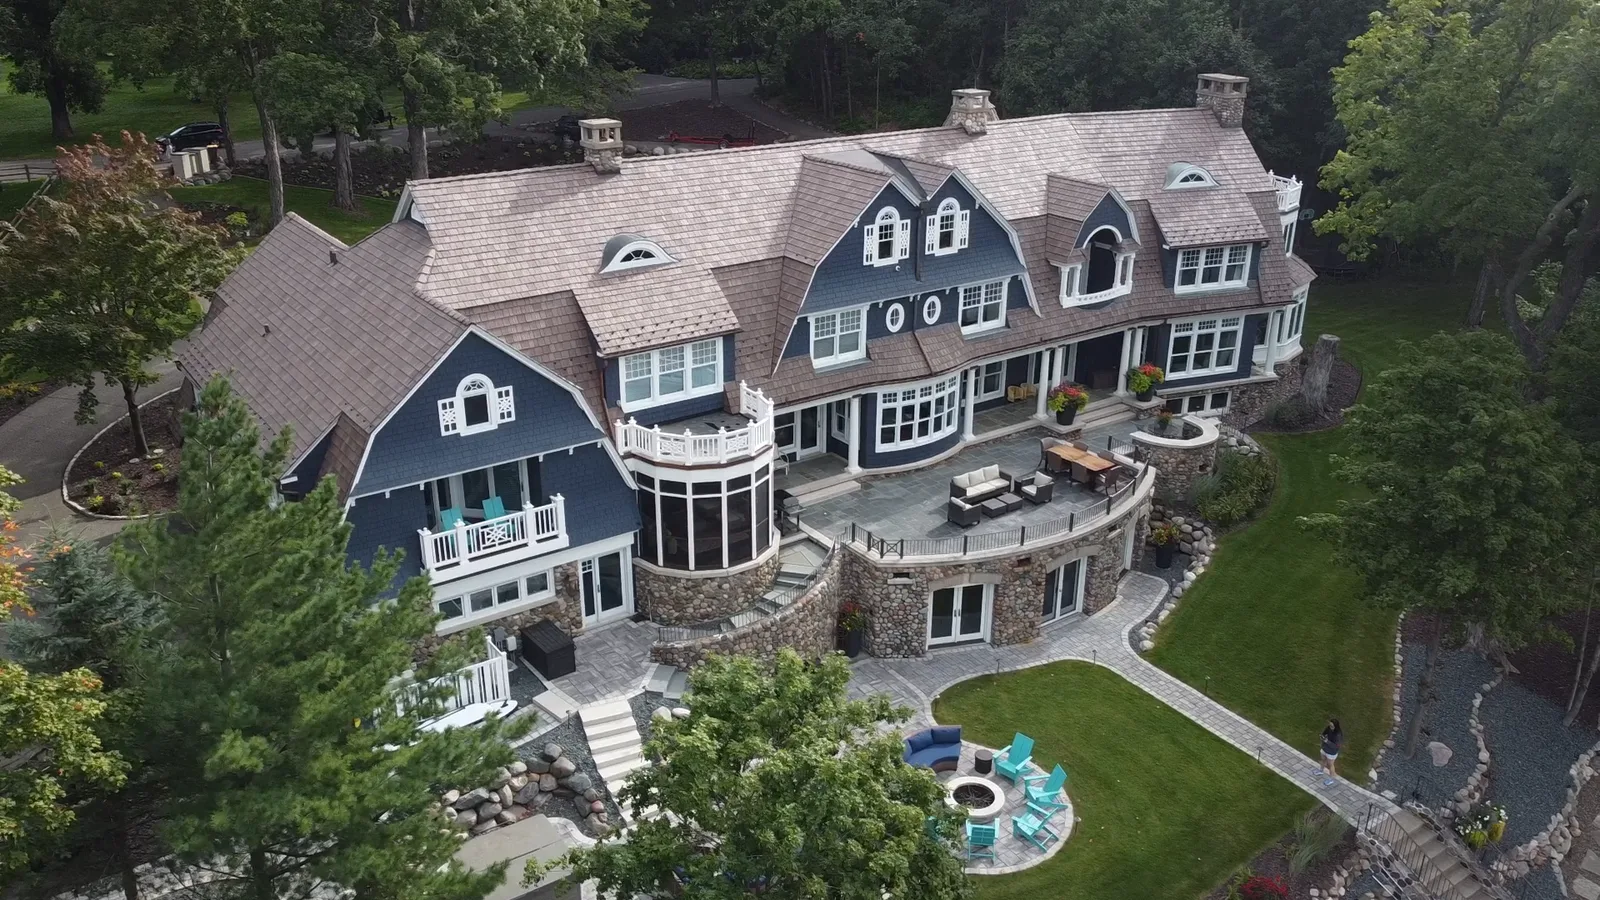
A lakeside home with intersecting rooflines, dormers and curved architectural details, documented from the ground and the air.
See the project →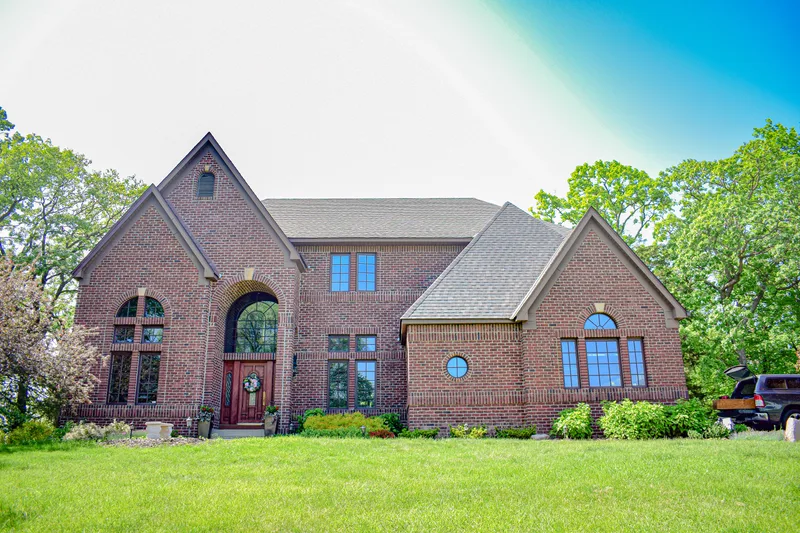
Afton, MN · Residential
Roofing and traditional architecture in Afton
Finished project photographs show the rooflines of a brick Afton home, from the front gables to the garage.
See the project →Roof Installation
Frequently asked questions
How is roof installation different from roof replacement?
Installation describes assembling the roof system. Replacement also includes evaluating and removing an existing roof and dealing with what is uncovered. Our replacement guide focuses on those decisions; this page explains the components and installation handoff.
Can I choose a roofing product before the inspection?
You can bring preferred styles and colors to the discussion. The roof layout, supporting condition, product requirements, and project scope still need review before an installation proposal is finalized.
Will ventilation be reviewed as part of the roof installation?
Ask the proposal to explain the ventilation arrangement and any changes included. A new roof covering alone should not be assumed to resolve every attic moisture or ventilation concern.
Does every roof area use the same material?
Not necessarily. Changes in pitch and transitions can require different treatment. We discuss how the proposed materials and details fit each included area of the roof.
What information should I keep after installation?
Keep the signed scope, approved changes, exact product names, applicable manufacturer and workmanship terms, and any registration records. These help with maintenance questions and future repairs.
Based in Plymouth
Roof Installation across the Twin Cities
Our team serves homeowners in the communities below and throughout our service-area directory. Choose your community to explore local services and published projects.
View all service areas →Related services & resources
Explore all roofing services →Call us. A real person answers.
Inquiries are typically answered within about five minutes during business hours — by someone who can actually help, not a call center.
Prefer to text? Message us at (612) 251-7122